
There is something deeply satisfying about growing potatoes. You plant what looks like a shrivelled old spud, ignore it for a few months, and then dig up a pile of fresh new potatoes. They are one of the most reliably productive crops you can grow in the UK, they are not difficult, and the taste difference between a shop-bought potato and one pulled from the ground minutes before eating is remarkable.
Types of Potato: First Earlies, Second Earlies, and Maincrops
Potatoes are categorised by when they are planted and harvested:
- First earlies – planted in March, harvested in June and July. These are small, tender new potatoes. Good varieties: Charlotte, Rocket, Swift, Casablanca.
- Second earlies – planted in April, harvested in July and August. Slightly larger than first earlies. Good varieties: Kestrel, Maris Peer, Jazzy.
- Maincrops – planted in April or May, harvested from late August onwards. Larger potatoes that store well through winter. Good varieties: Maris Piper, King Edward, Desiree, Rooster.
For beginners, first or second early varieties are the easiest starting point. They are quicker to harvest, less prone to blight (which tends to strike in late summer), and the fresh new potato is one of the finest things you will eat from your garden.
Chitting: What It Is and Whether You Need to Do It
Chitting means allowing seed potatoes to sprout before planting. You do this by placing them in a cool, light, frost-free place (an egg box on a windowsill is ideal) with the end that has the most eyes pointing upwards. After 4 to 6 weeks, they will have developed short, dark green shoots (chits) 1 to 2cm long.
Chitting is not strictly essential, but it gives your crop a head start, which is particularly useful in the UK where the growing season can be short. Start chitting in late January or February for an early to mid-March planting.
When to Plant Potatoes in the UK
- First earlies: mid-March (southern England) to early April (northern England, Scotland)
- Second earlies: April
- Maincrops: mid-April to early May
The main risk is frost. Potato shoots are frost-sensitive, so if a frost is forecast after they have emerged, cover them with fleece overnight or earth soil up over the emerging shoots. Do not plant before the soil has warmed slightly.
How to Plant Potatoes
- Prepare the bed. Dig in well-rotted manure or compost the previous autumn if possible. Potatoes are heavy feeders and benefit from a rich, moisture-retentive soil.
- Dig trenches. Make furrows about 12 to 15cm deep. Space them 60cm apart for first and second earlies, 75cm apart for maincrops.
- Place the seed potatoes. Set them in the trench with the chits pointing upwards, spacing them 30cm apart for earlies and 37cm apart for maincrops.
- Cover over. Rake soil back over the trench to cover the potatoes.
Earthing Up: The Most Important Job
As the potato shoots emerge and grow, you need to earth them up: draw soil up around the stems to form a ridge, leaving just the top few centimetres of foliage exposed. Do this every couple of weeks as the plants grow.
Earthing up serves two purposes: it protects emerging shoots from late frosts, and it ensures the tubers (which develop underground on the stems) are covered. Tubers exposed to light turn green, and green potatoes contain solanine, which is toxic. Keep them buried.
Watering
Potatoes need consistent moisture, particularly once the plants are in flower (which is when the tubers are bulking up). In dry spells, water deeply every 10 to 14 days rather than little and often. The most critical time is when the foliage is actively growing and during and after flowering.
Potato Blight
Blight is the most serious disease affecting potatoes in the UK. It is caused by a fungal-like organism (Phytophthora infestans) and spreads rapidly in warm, humid conditions. Symptoms are brown patches on leaves that spread quickly across the plant.
If you see blight:
- Cut off all the foliage immediately and dispose of it (do not compost it).
- Leave the tubers in the ground for two to three weeks before harvesting. This allows the skins to set and reduces the risk of bringing blight spores into storage.
- Check stored potatoes regularly and remove any that show signs of rot.
To reduce blight risk, choose blight-resistant varieties like Sarpo Mira, Sarpo Axona, or Setanta. These are not completely immune but are much more resistant than traditional varieties.
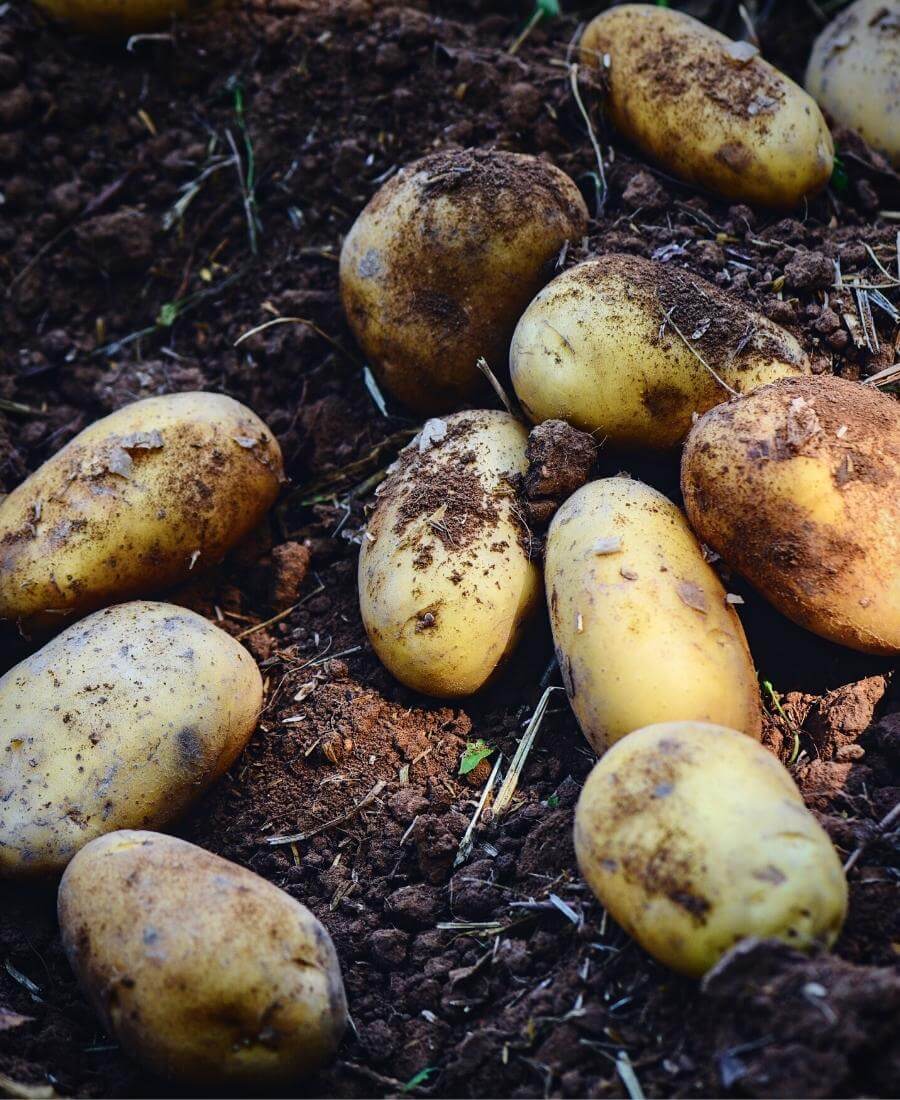
When and How to Harvest
First and Second Earlies
Harvest when the flowers are open (or have just dropped). To check readiness, carefully scrape away some soil from a plant and see how the tubers look. If they are the size of a hen's egg or larger, they are ready. Lift the whole plant with a fork. Earlies are best eaten fresh and do not store well.
Maincrops
Wait until the foliage has died back naturally (or been removed due to blight). Lift with a fork on a dry day if possible, being careful not to spear the tubers. Leave them on the surface to dry for a couple of hours before storing.
Store maincrops in hessian or paper sacks in a cool, dark, frost-free place. Check regularly through winter and remove any that are rotting.
Find More Growing Space
Potatoes are a high-yielding crop but they take up significant space. If you are short of room, AllotMe connects you with private garden owners across the UK who have growing plots available to rent. No waiting list.
See also: crop rotation for beginners (potatoes are a key part of any rotation), and our full growing guides library.